Users of third party video tools can ignore this.
MAS provides a - hopefully(!) - easy system for livestreaming a video with your selected overlay and data provider.
The platform has been built with the theory of "so long as the camera is capable of reaching the internet, we are capable of working with it". The specific hardware does not matter, we officially only recommend a minimum baseline to get started. Ultimately, we want to champion your creative freedom (and encourage you to explore more sophisticated cameras and microphones as you get more and more confident with livestreaming).
If you want to use your iOS, Android, or Web browser app to send us video you are effectively starting a video call with our server and our server will then print the overlay and send the video where you want it to go.
The most basic way to get started is to use MAS to:
You don't have to do this step now, if you are setting up this match on a different device than what you want to stream on, or want to setup a camera at the same time then you can skip this for now.
However, you must connect a video source within 10 minutes of starting the match. The MAS server is created 1:1 with your video stream, and is expensive to operate, so we will terminate your broadcast and match if we are not getting a consistent video feed Streaming muted is fine (and sometimes desirable if you don't want a live audience's conversations to be picked up...), but there must be some consistent video aspect.
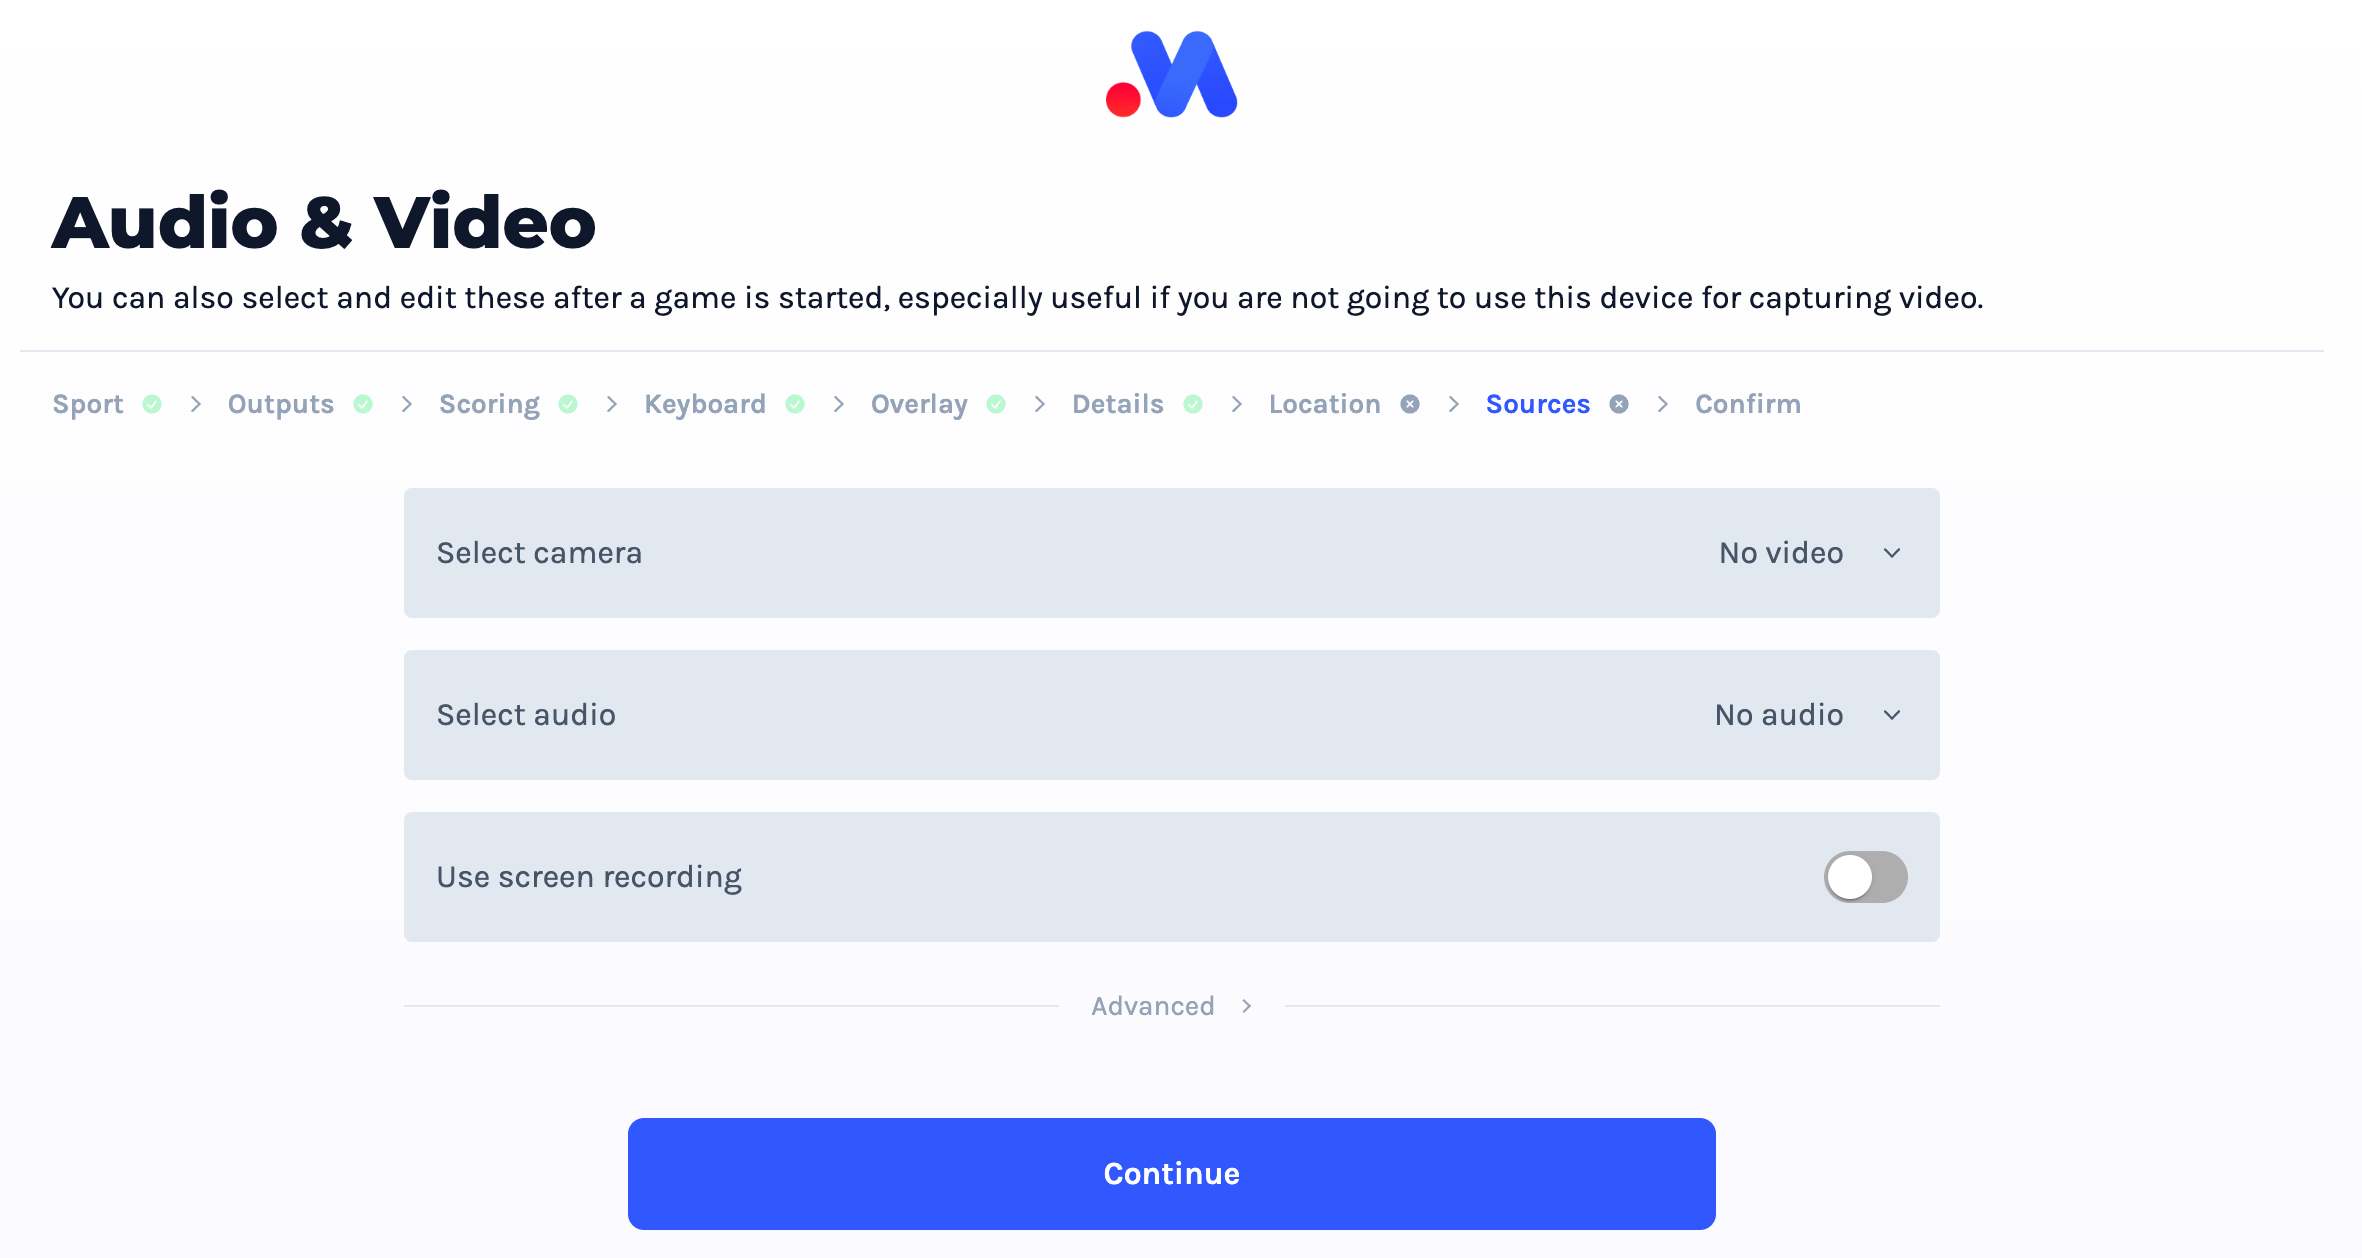
Default Selection
MAS will not assume any defaults here - you will need to instruct which A/V sources you intend to use.
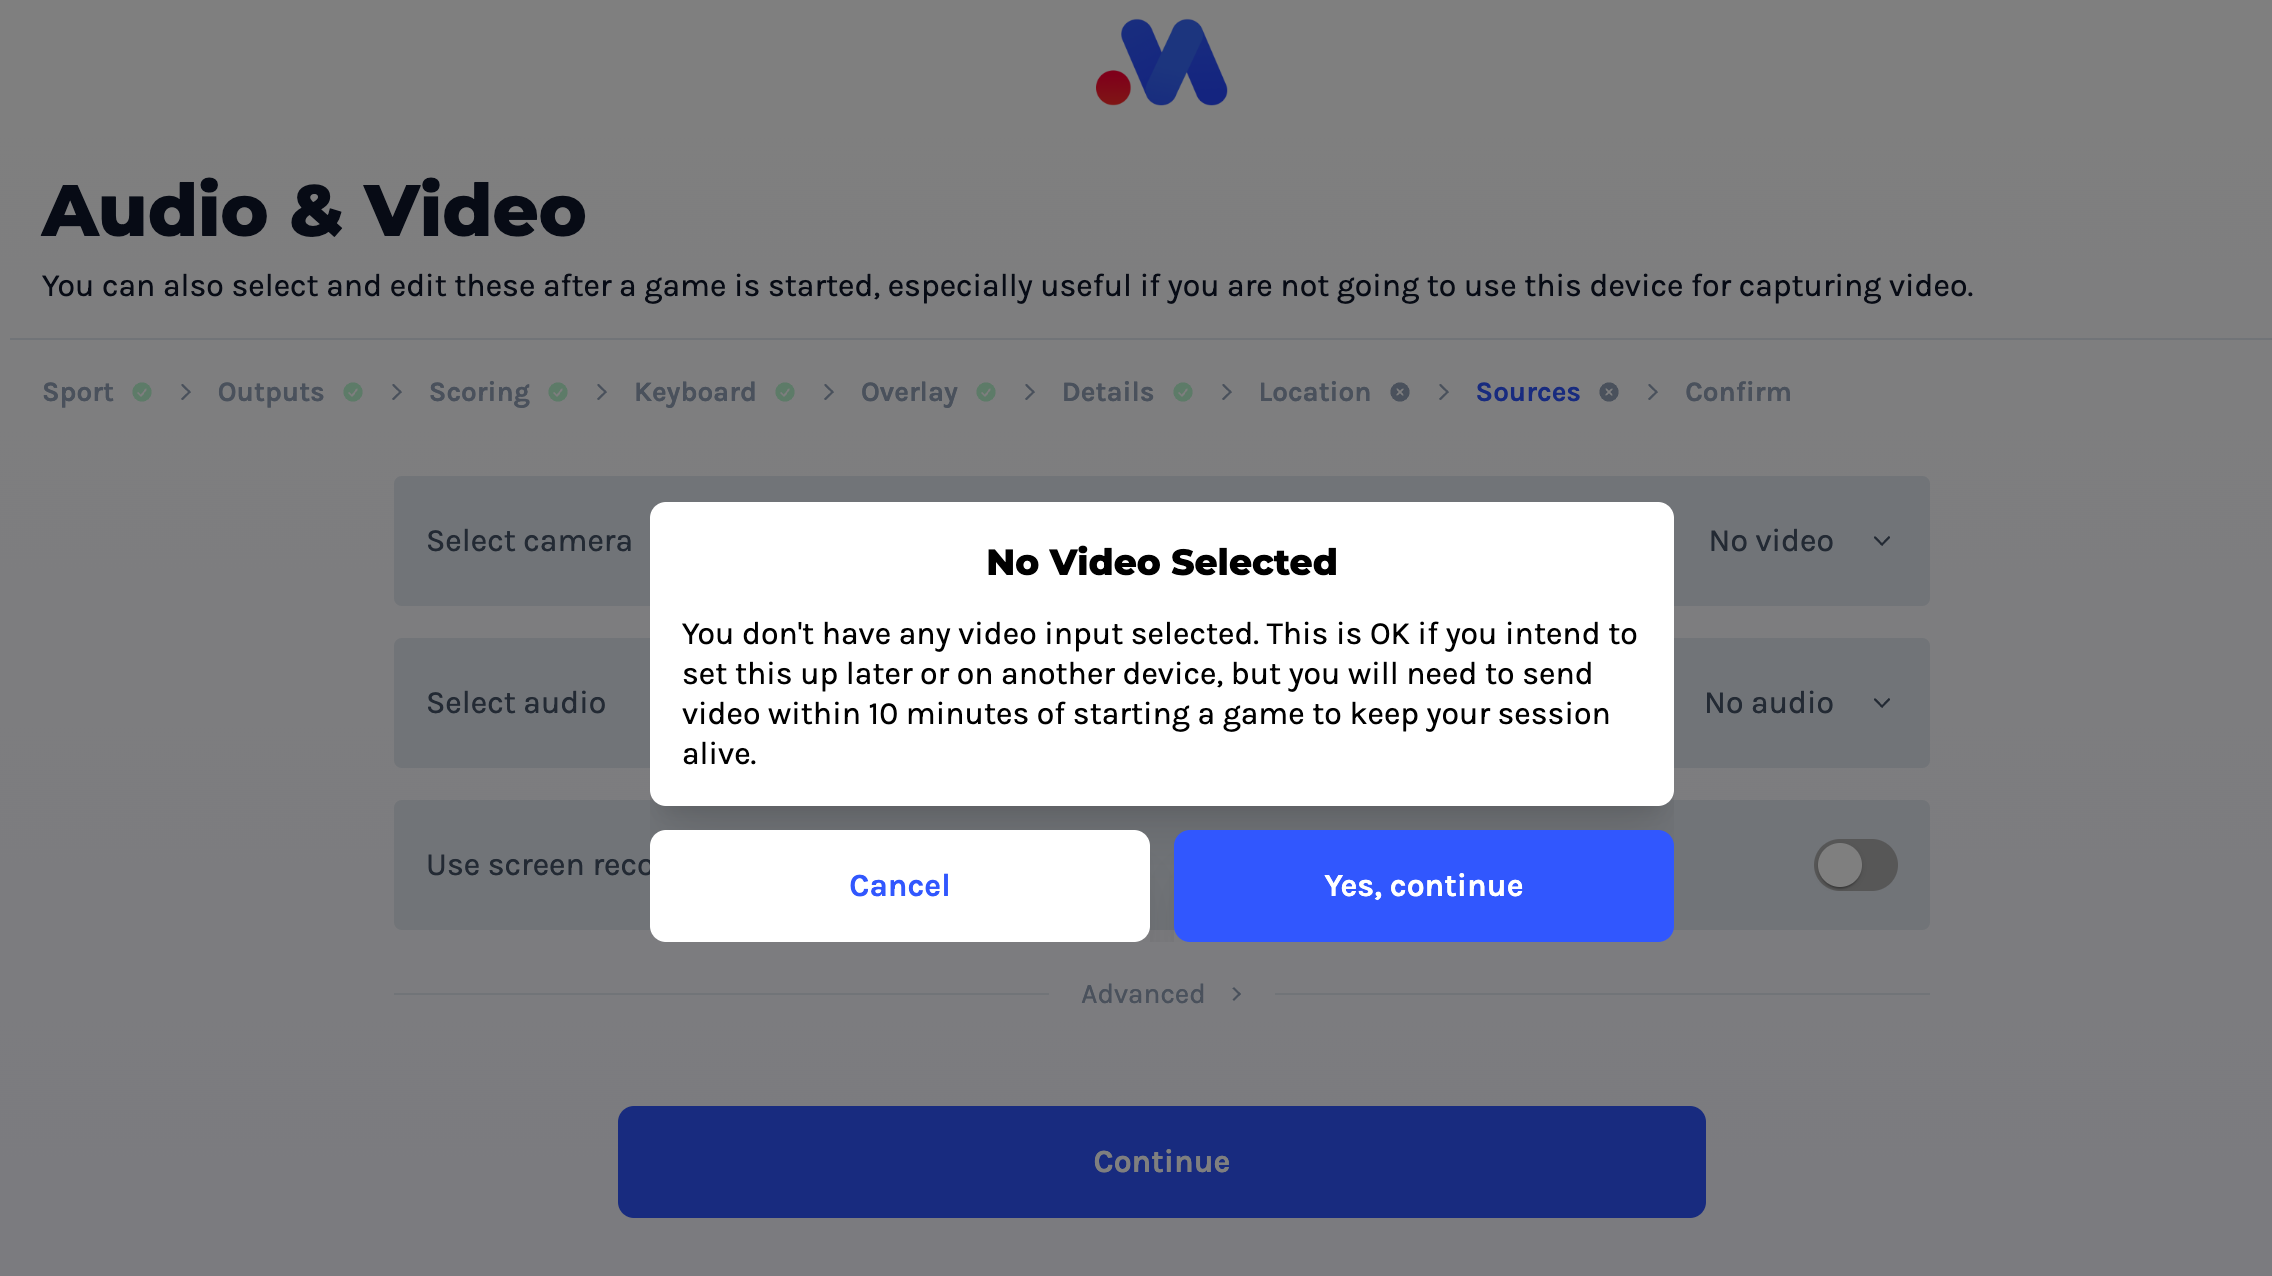
The application will warn you if you are starting a match without an attached camera source. This is in theory OK, you can attach a camera when a game is started but you must do so within 10 minutes of starting the match (otherwise the MAS server will shutdown and the match will be ended).